
School of Nursing’s VPN
Mac VPN Installation Instructions:
Browse to the website https://vpn.nursing.upenn.edu to download the application.
Click on Download Mac 32/64 bit GlobalProtect agent.

This will download a file named GlobalProtect.pkg; double click the file to begin downloading.

Select “Continue” to proceed through the installation.
You may need to approve kernel extensions in order for the GlobalProtect VPN client to function normally. If this happens, you will be prompted with a dialog box like the one below. Select “Open Security Preferences.”

This will open your System Preferences dialog box. At the bottom of the Dialog box you will see that what you are downloading was blocked from loading. Please select Allow.

Once the application is installed you will see an icon appear in the top right of your screen and the icon will have a picture of a globe. When you open the application, you will need to provide the Portal address:

You will then click on Connect.
Clicking on the Connect button will cause a browser window to open and prompt you for your PennKey credentials through the usual WebLogin screen.

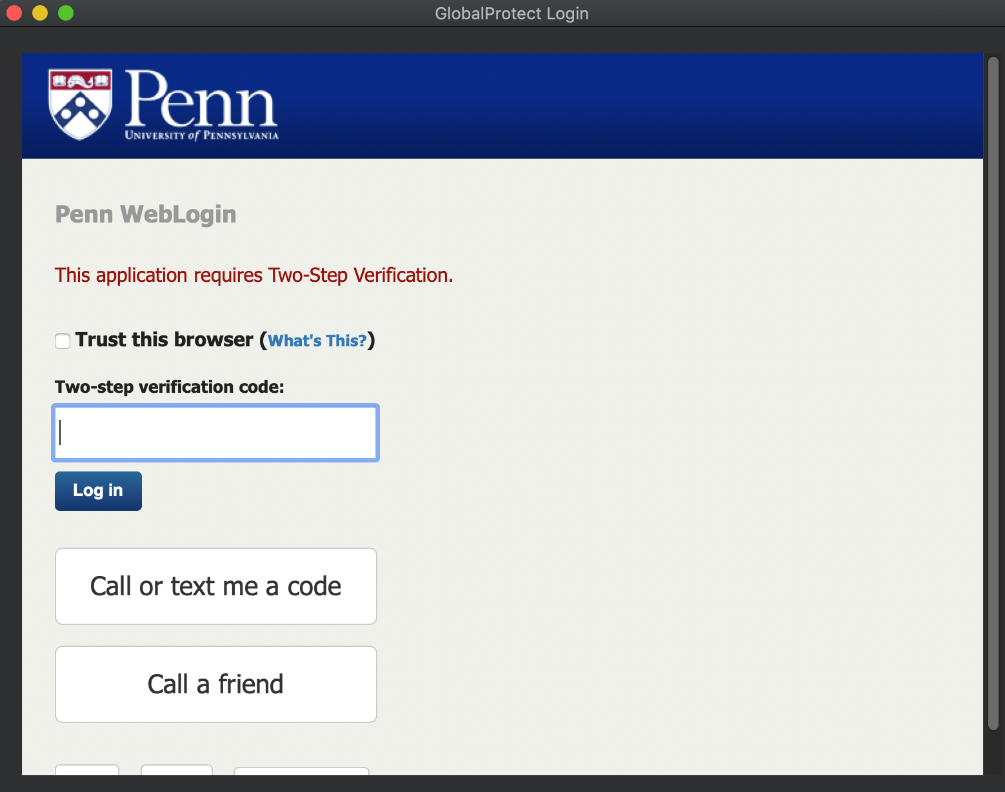
After entering your username and password you should then see the usual Two-Step Verification screen:

------------------------------------------------------------------------------------------------------------------------------------------------------------------
Windows VPN Installation Instructions:
In the address bar of your preferred browser, type in the following address:
Enter your School of Nursing username & password

You will now see the screen below:
Select Download Windows 64 bit GlobalProtect agent

Once the download finishes, you will now see the screen below
Click Next and accept the defaults, hitting Next at each screen

Once the installation completes, click Close

You will now see the following screen, type in vpn.nursing.upenn.edu
and click Connect

Clicking on the Connect button will cause a browser window to open and prompt you for your PennKey credentials through the usual WebLogin screen.
After entering your username and password you should then see the usual Two-Step Verification screen:
Once you have successful performed the necessary Two-Step Verification, you will then be connected to the VPN and the icon should change to indicate that you are connected.
Contacts
🕘 8:30 am - 5:00 pm
☎ (215) 898-5981
418 Curie Blvd, Suite #202